
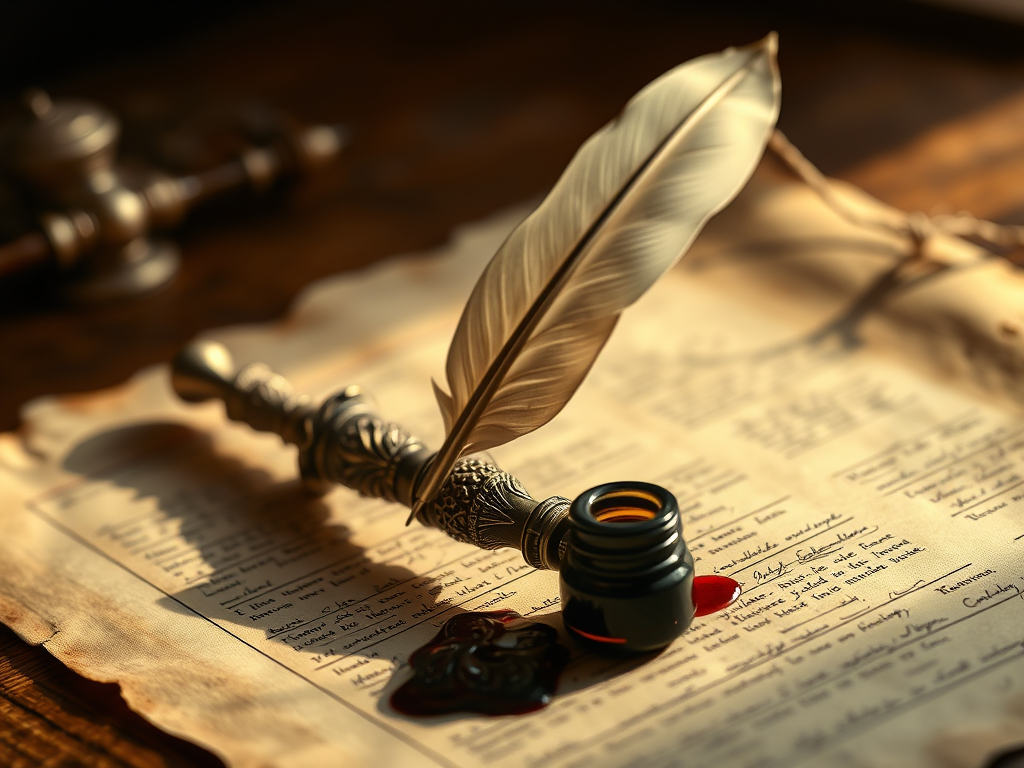
I recently found the most beautiful feathered Quill Dipping ink Pen when I took my family to Hever Castle in Kent, the home of Anne Boleyn, one of the wives of Henry the Eighth. But this had me thinking, that of course you can indeed buy yourself a beautiful Quill pen, but you could if your are creative, create and make your own!!!
What you will need;
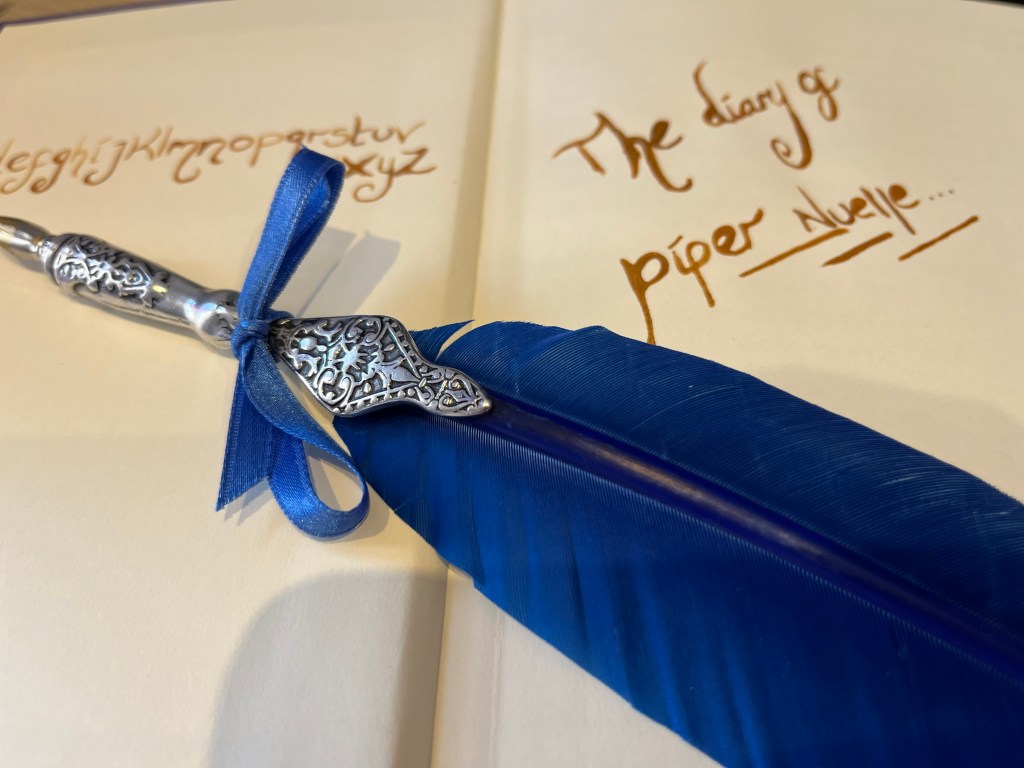
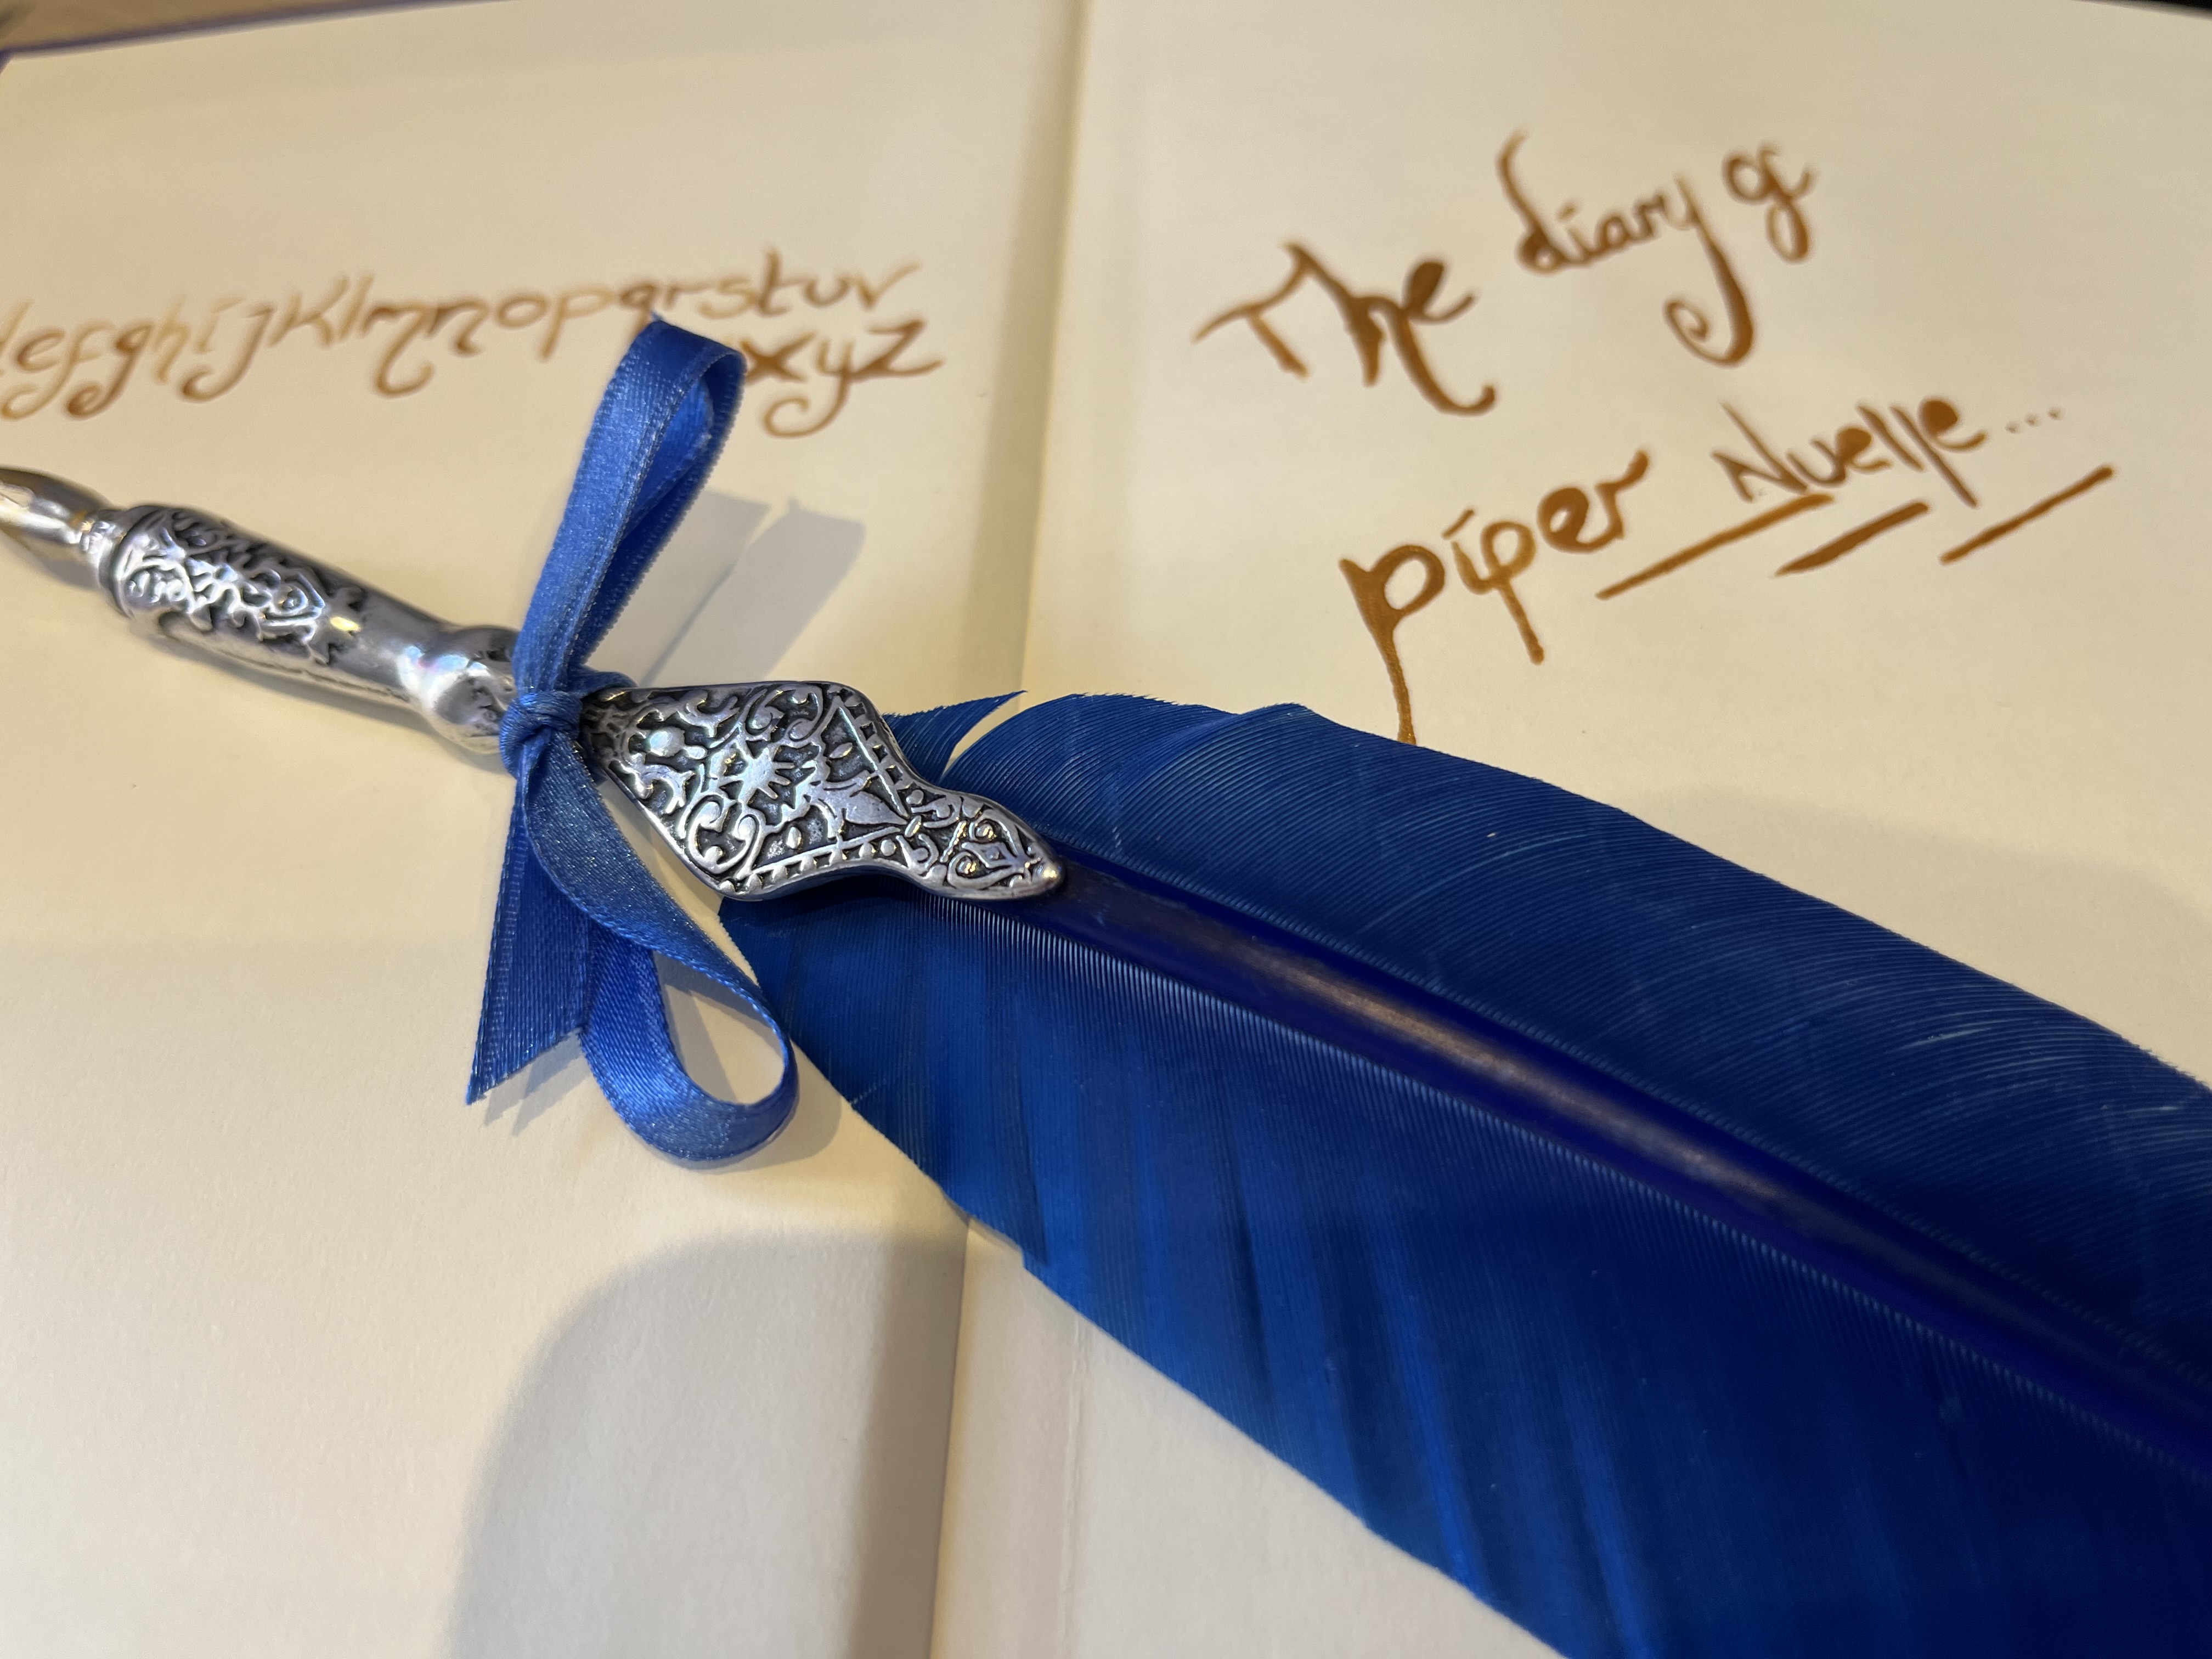
- Large Feather
- Metal Pen Nib / Nibs
- Thread
- Glue / Super Glue
- Ink for dipping, maybe multiple colours
- Paper
- Craft Knife
- Board or hard surface to work upon
Hobby stores such as Hobbycraft sell most of the items you need. They have packs of large feathers that people buy and use for kids crafts or wedding crafts and you can get some pretty beautiful colours. The pen nibs you can find again in hobby stores, if not and you are struggling to find them, Amazon are great for finding bits and bobs that maybe your local store doesn’t stock. If not an art supply store is also a good option. Dipping inks, again found online, in art stores or hobby stores. I actually found my dipping inks in the shop of Hever Castle, I have a gold and a silver one. But unless you fancy a drive and trip to Hever, online or local shops might be your best bet.
Step One…
So you don’t damage any work surfaces, place down a crafters board or some cardboard to protect the area you are going to work upon. Then gather all the items you need, starting with the large feather and craft knife.
Step Two…
Work out on the feather where you want the metal pen nib to sit, then using the craft knife make a slit just big enough for the nib to slot into. Obviously the nib needs to sit at the base of the feather where the hard bit is to hold the nib in place, but its good to look at the feather and it’s angles to see when you hold it, how you want the feather to look. Once you have made the slit, slide in the nib.
Step Three…
Now, the metal nibs do wear down with use over time, some people may become attached to a certain feather and want to use it over and over again. So, you could with the nib use the thread to tie the nib in place, by wrapping a lot of thread around where the nib sits and to try and hold the slit closed. But, sometimes the thread may come loose and the nib may wobble and fall out. This is where you could use the super glue to glue the nib into place, especially if your not too fussed about making a few with a few different feathers, therefore when the one you use runs out or degrades and no longer works you can move on to the next one. Just remember to bin and recycle where possible. Once you have glued the nib in, again use the thread to wrap around to give it a tidy, finished quality to it, but also to make it more comfortable when you hold it and rest it on your finger.
Step Four…
There you have it, you have a home made Quill pen, so now you just need to grab your paper and dipping ink and give it a go!!!
I have found from using mine that it takes some time getting used to how a Quill pen works. The ink obviously doesn’t free flow from the pen nib for you to write loads of letters in one hit, it will take a lot of dipping in ink to write even just a mere paragraph, but isn’t that the whole fun of it?
This Quill pen could also make great personalised homemade gift for your friends, family or anyone else, especially if they are writers and or authors and love the craft of writing.
Have fun and enjoy and let me know how you get on with making a Quill pen.
Xo Piper Xo

Leave a comment